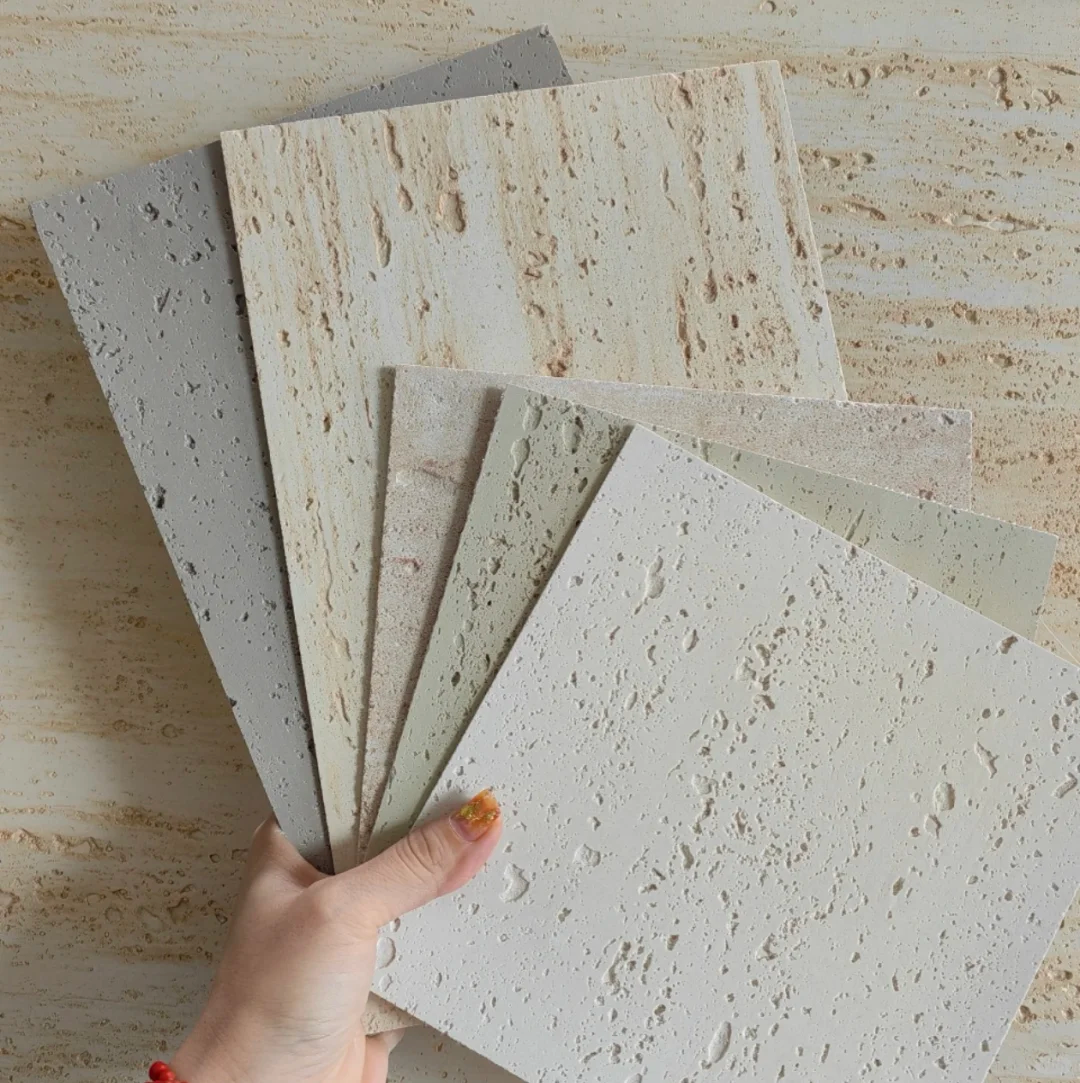
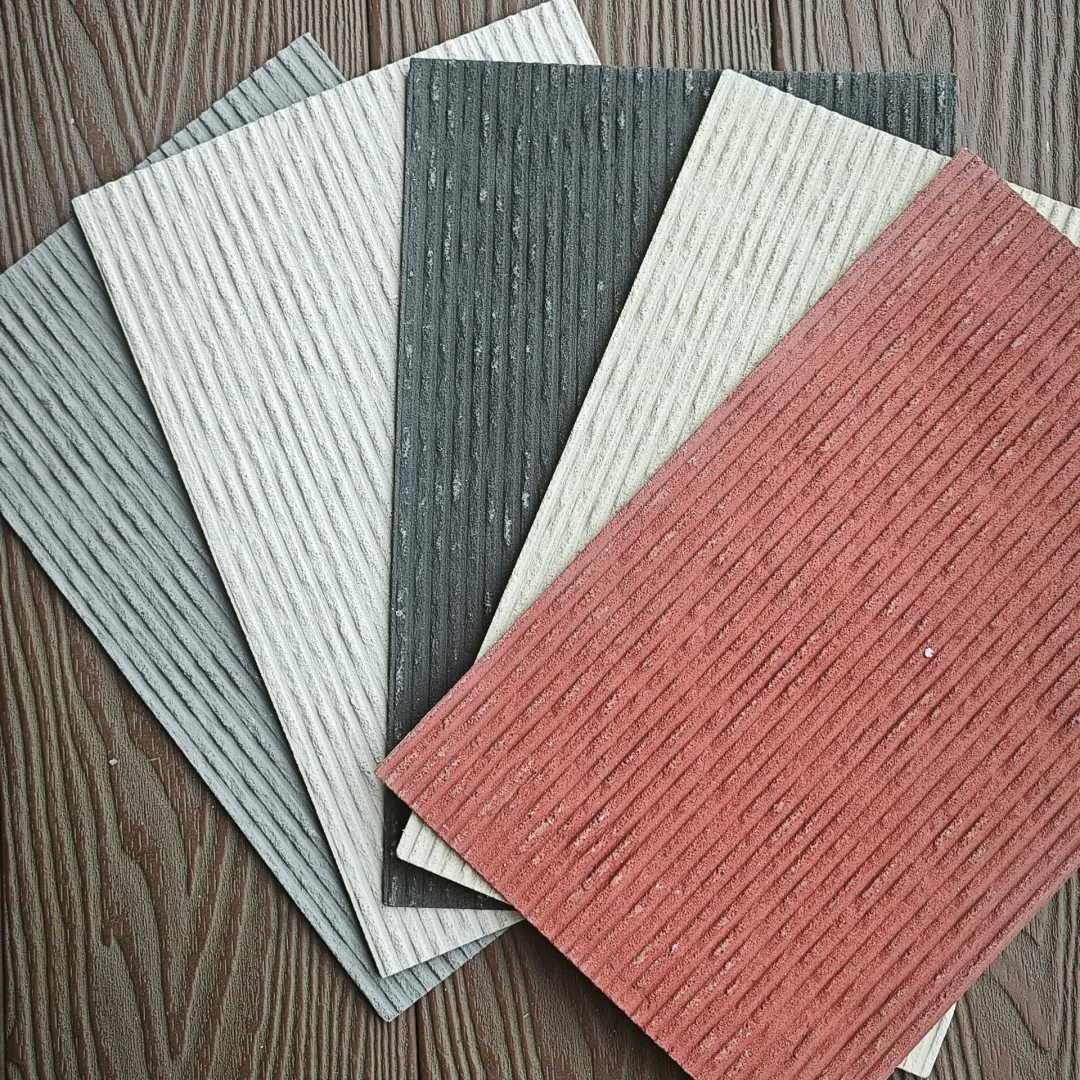
Soft stone, a lightweight, flexible, and easy-to-install decorative material, is gaining popularity among designers and contractors.
Compared to traditional stone, soft stone not only looks realistic but also greatly improves construction efficiency and spatial adaptability.
Preparation: Tools and Substrate Requirements
Before beginning installation, please prepare the following common tools:
Scissors or utility knife (for cutting soft stone)
Spatula or roller brush (for applying adhesive)
Measuring tools (tape measure, level)
Adhesive (recommended: specialized stone adhesive or MS adhesive)
Surface Requirements:
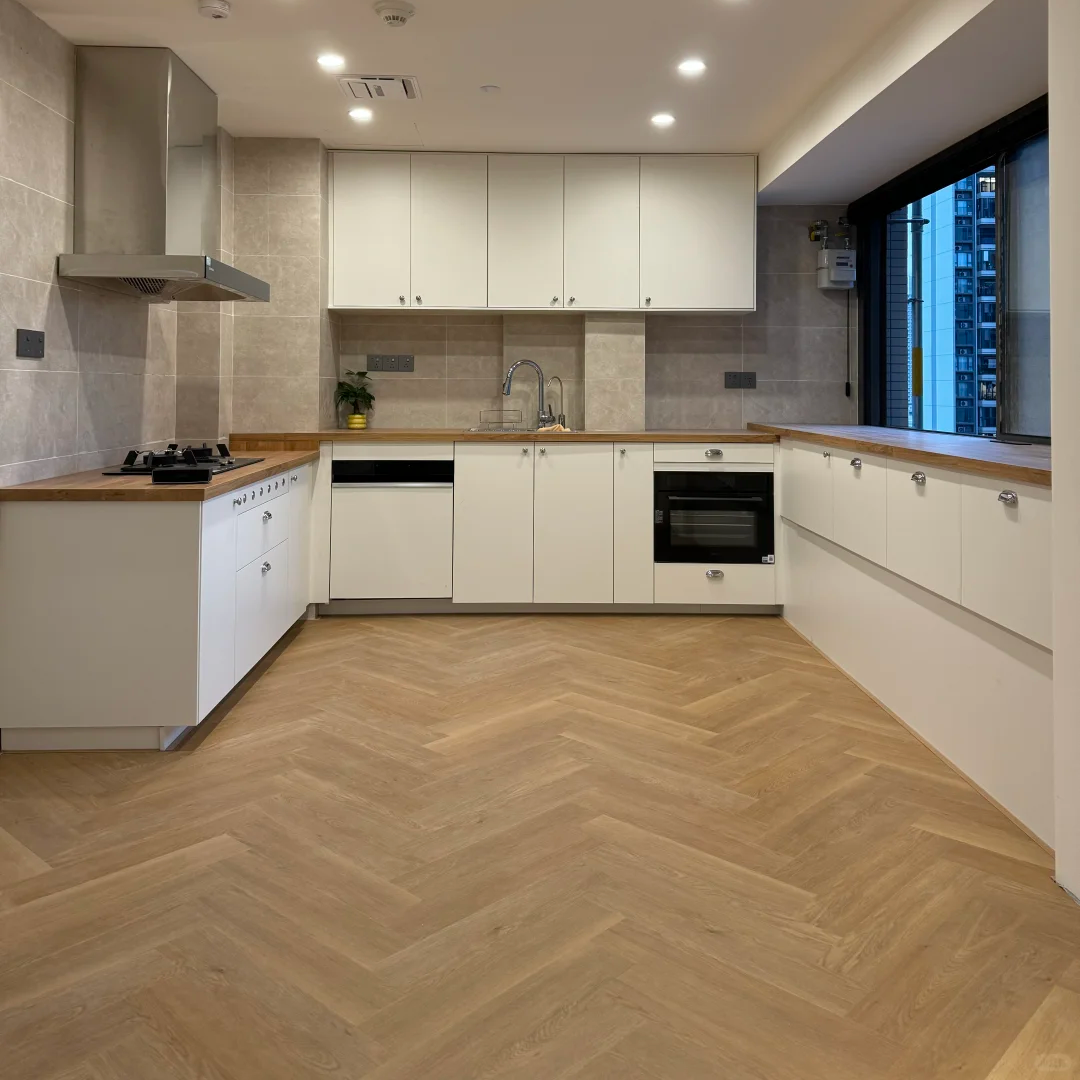
Soft stone can be applied to almost any flat, dry, grease-free surface, including cement boards, wood panels, gypsum boards, metal panels, tiles, and glass. Ensuring the base layer is secure and free of loose sections is the foundation for achieving high-quality decorative results.
Construction Steps: Quick Wall Application, Easy Installation
1: Pre-cutting and Layout
Cut the soft stone to the required size based on the wall dimensions. Use either the “staggered pattern” or “aligned pattern” method. Pre-laying the stones dry can enhance overall aesthetics.
2: Applying Adhesive
Apply adhesive evenly to the back of the soft stone or the wall surface. It is recommended to use a combination of “spot application + strip application” to ensure a stronger bond.
3: Adhesion and Compaction
Gently press the soft stone tiles against the wall, then use your hands or a scraper to compact them from the center outward, expelling any air pockets to ensure no bubbling.
4: Natural Drying
After adhesion, allow the tiles to dry naturally for 24–48 hours, avoiding contact with water or vibration. No grouting is required; the surface will naturally form.