Renovating your interior walls doesn’t have to be expensive, time-consuming, or messy. If you’re looking for a solution that delivers stunning results with simple steps, look no further than SPC wall panels. Lightweight, durable, and incredibly easy to install, SPC wall panels are quickly becoming the go-to choice for homeowners, designers, and contractors alike.
In this guide, we’ll walk you through everything you need to know about SPC wall panel installation, from preparing your walls to achieving that flawless, professional finish—all in a weekend.
Why SPC Wall Panels Are Taking Over
SPC wall panels are a new generation of eco-friendly decorative wall cladding made from a high-performance composite of natural limestone powder and polymer resin, formed via high-temperature and high-pressure one-piece molding. This advanced construction gives SPC wall panels a unique combination of properties that traditional wall materials simply can’t match:
100% Waterproof – Unlike wood, MDF, or traditional wallpaper, SPC wall panels resist moisture completely, making them ideal for bathrooms, kitchens, basements, and laundry rooms.
Lightweight & Easy to Handle – Their lightweight design means no heavy tools or extra labor are required for transport or installation.
Highly Durable & Impact-Resistant – The rigid SPC core provides excellent impact resistance, preventing cracking, warping, or swelling even in high-traffic areas.
Low Maintenance – A simple wipe with a damp cloth is all it takes to keep them looking pristine.
Eco-Friendly & Safe – SPC wall panels are free of formaldehyde and phthalates, and are 100% recyclable, contributing to healthier indoor air quality.
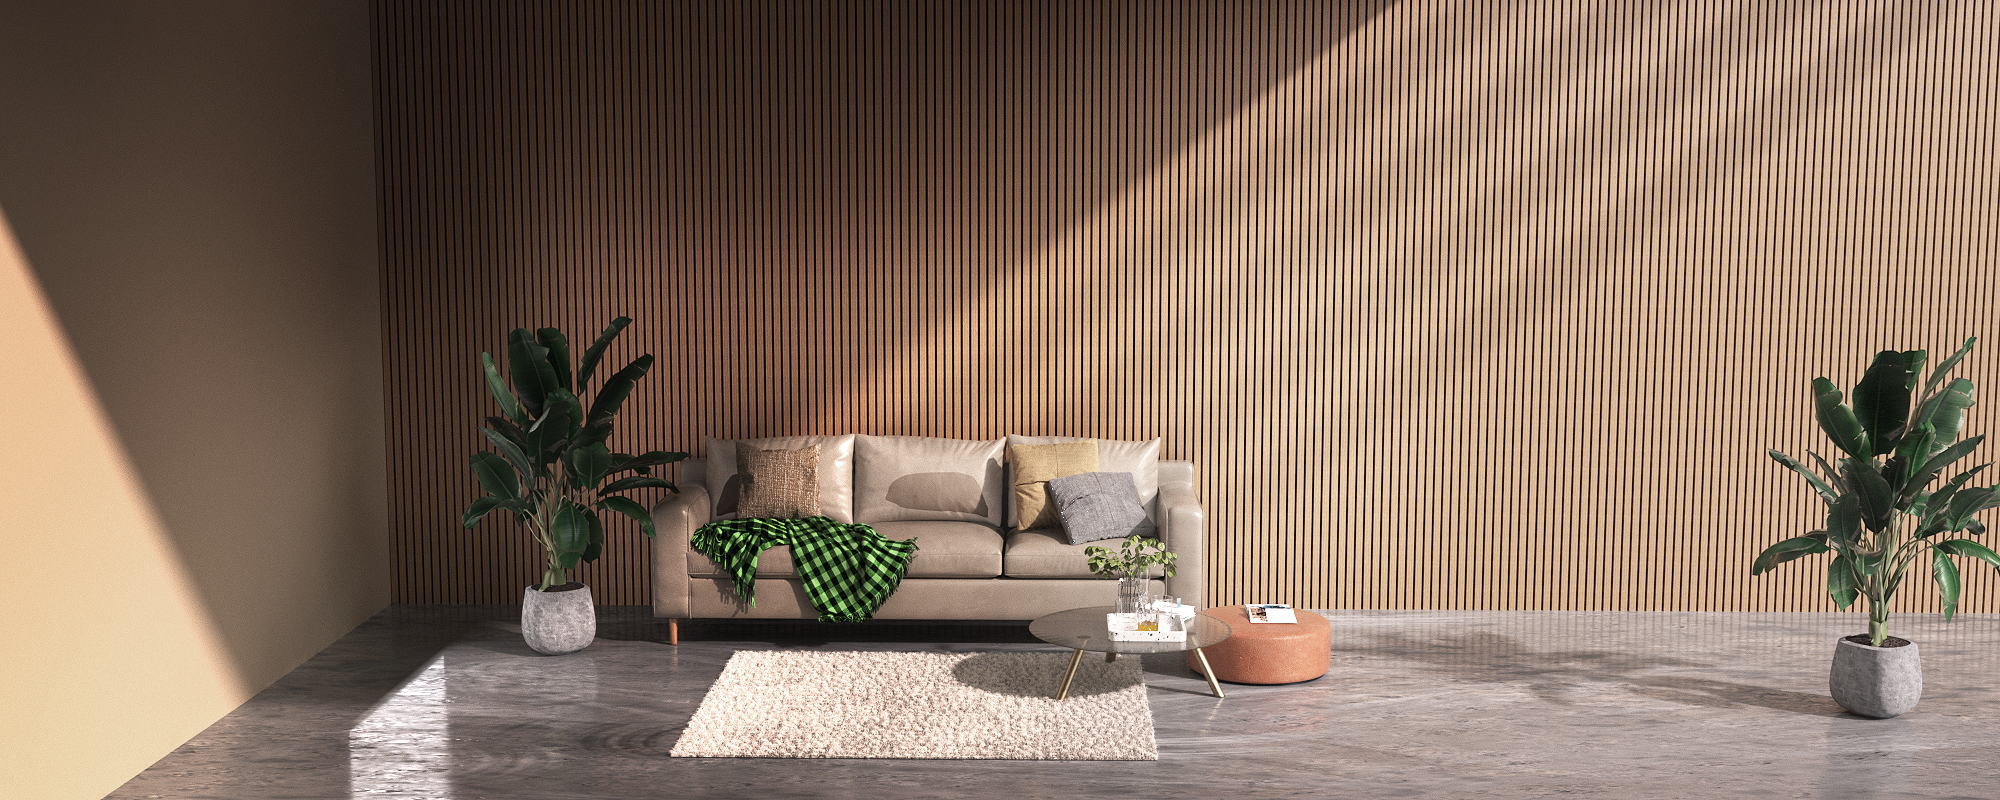
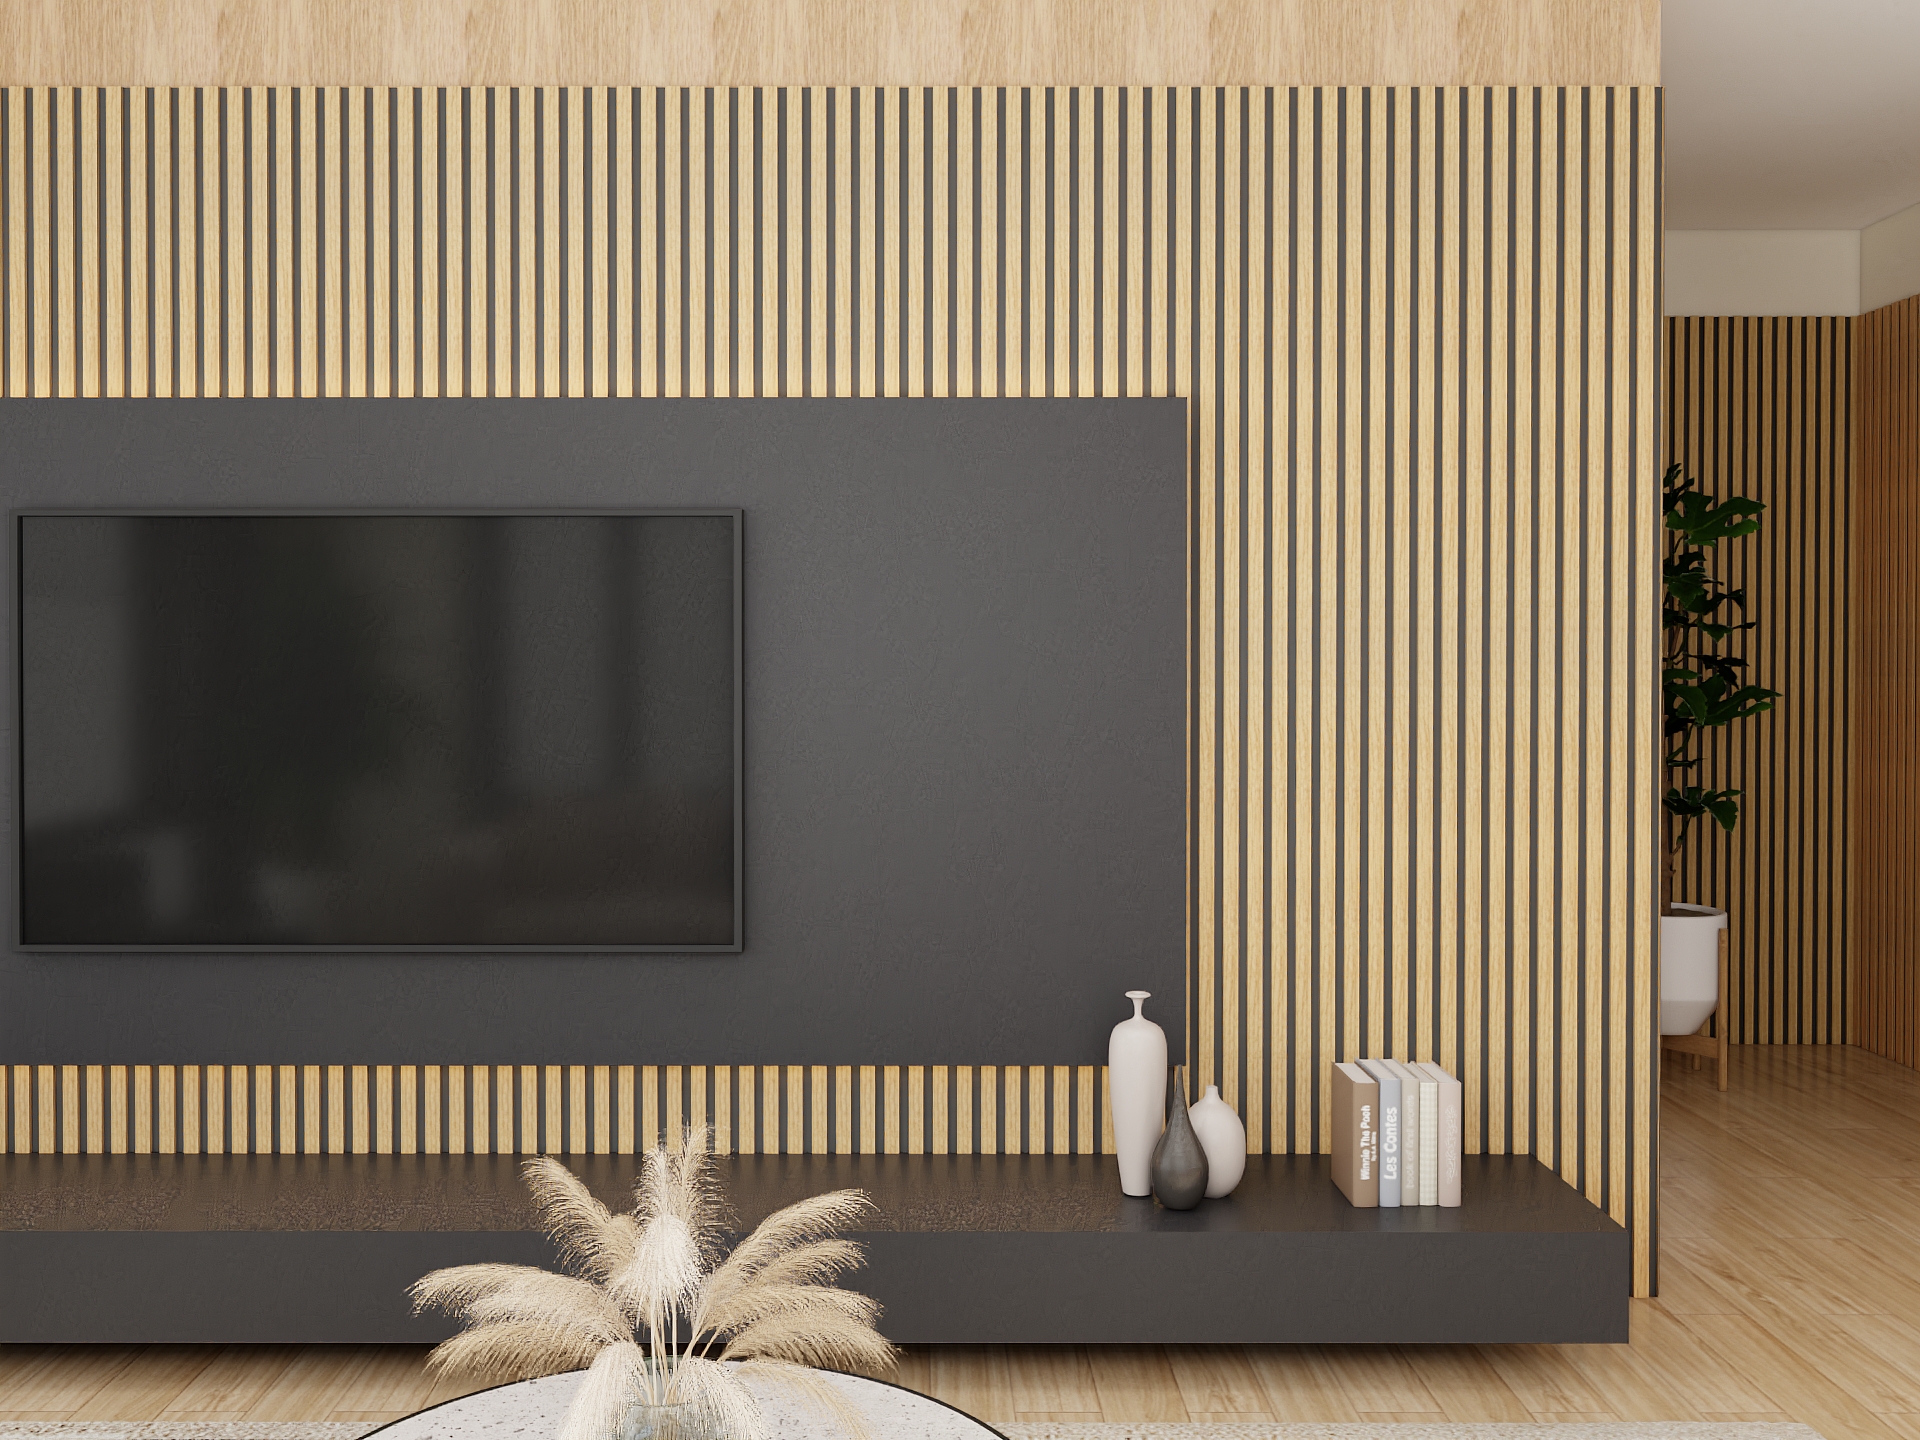
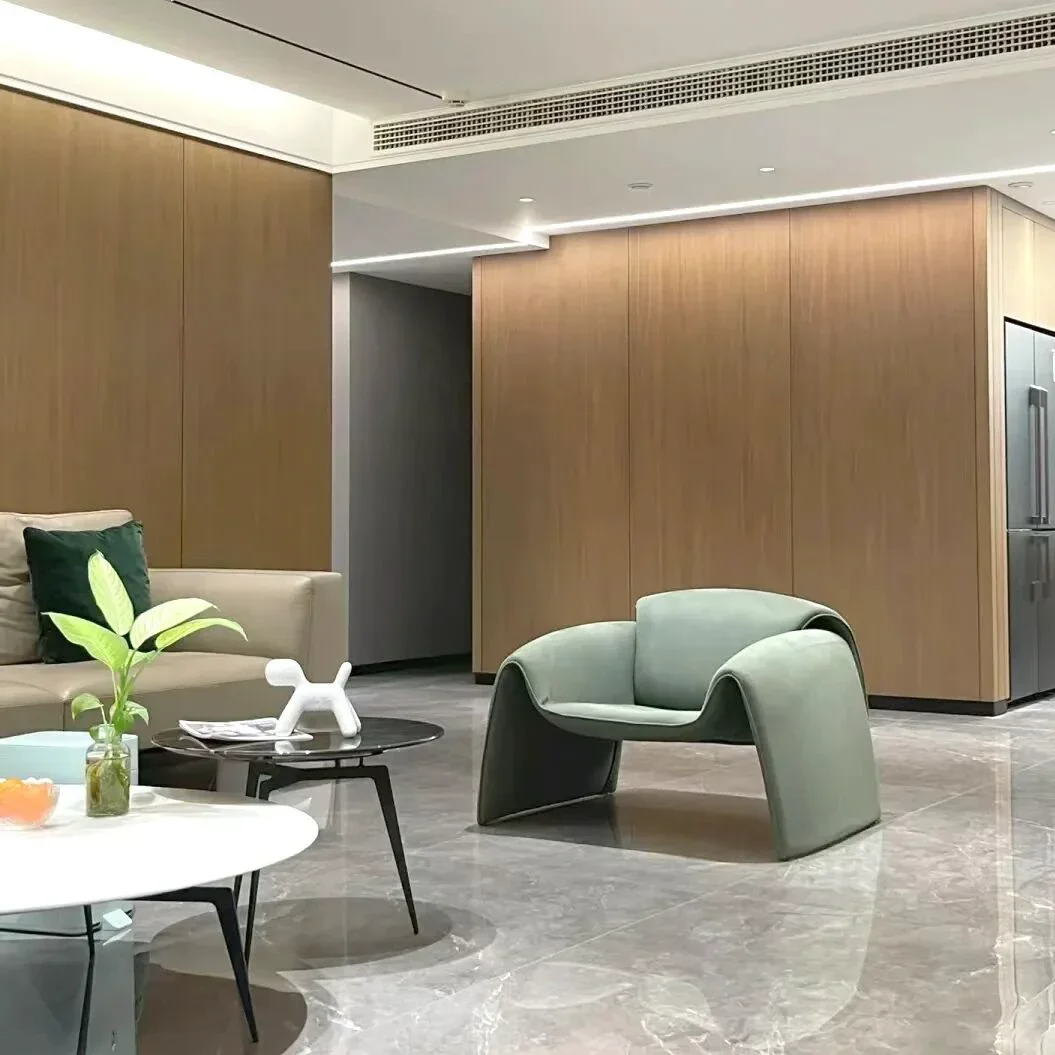
Aesthetic Versatility – Available in a wide range of designs—from realistic marble, wood, concrete, and stone textures to modern solid colors—SPC wall panels can complement any interior style.
Before You Start: Preparation
Before diving into the installation process, proper preparation is key to achieving a seamless, long-lasting finish.
Tools and materials you’ll need:
SPC wall panels
Measuring tape, level, and pencil
Utility knife or fine-toothed saw
Construction adhesive
Caulk gun
Rubber mallet
Wall surface preparation checklist:
Clean the wall – Remove dust, grease, and any loose paint or wallpaper using a damp cloth or mild cleaner.
Check for evenness – Use a level to ensure the wall is smooth. Fill any large dips or sand down rough spots.
5 Simple Steps to Install SPC Wall Panels
Step 1: Measure the Wall and Plan Your Layout
Start by measuring the height and width of the wall you want to cover. Calculate how many panels you need, always rounding up to account for cuts and mistakes. Use a pencil and level to mark layout lines where each row of panels will begin. For large walls, plan your panel arrangement so that cut pieces end up in less noticeable areas
Step 2: Cut the Panels to Size
Mark the cutting lines on the panel itself. For thinner SPC panels, a heavy-duty utility knife works well—score the decorative face heavily and snap the panel over a straight edge. For thicker panels, use a fine-toothed saw for cleaner cuts. Always cut with the finish side facing up to avoid chipping. If you have electrical outlets or light switches, mark their locations and use a jigsaw or hole saw to create precise openings.
Step 3: Apply Adhesive
Apply construction adhesive in a zigzag or “S” pattern across the back of the panel. Add extra adhesive along the edges for better adherence. For wet areas like bathrooms or showers, apply a thin bead of silicone into the panel grooves before joining them—this creates an internal waterproof gasket.
Step 4: Attach Panels to the Wall
Start from a bottom corner or your designated starting point. Align the first panel carefully along your guide lines, then press it firmly against the wall. Use a rubber mallet to ensure the panel sits flush and secure. For click-lock systems, slide the groove of the new panel into the tongue of the previous one at a slight angle, then press down to lock them in place.
Step 5: Repeat and Finish
Continue cutting, applying adhesive, and attaching panels until the entire wall is covered. Check with a level after each panel to maintain straight alignment. Once all panels are installed, apply trim pieces to cover edges and corners for a polished, professional look.
Total time for an average-sized wall: approximately 1 day. No grout, no drying time, no mess.
At ECOUPP, we are committed to providing premium-quality SPC wall panels that combine cutting-edge manufacturing technology with exceptional design versatility.