
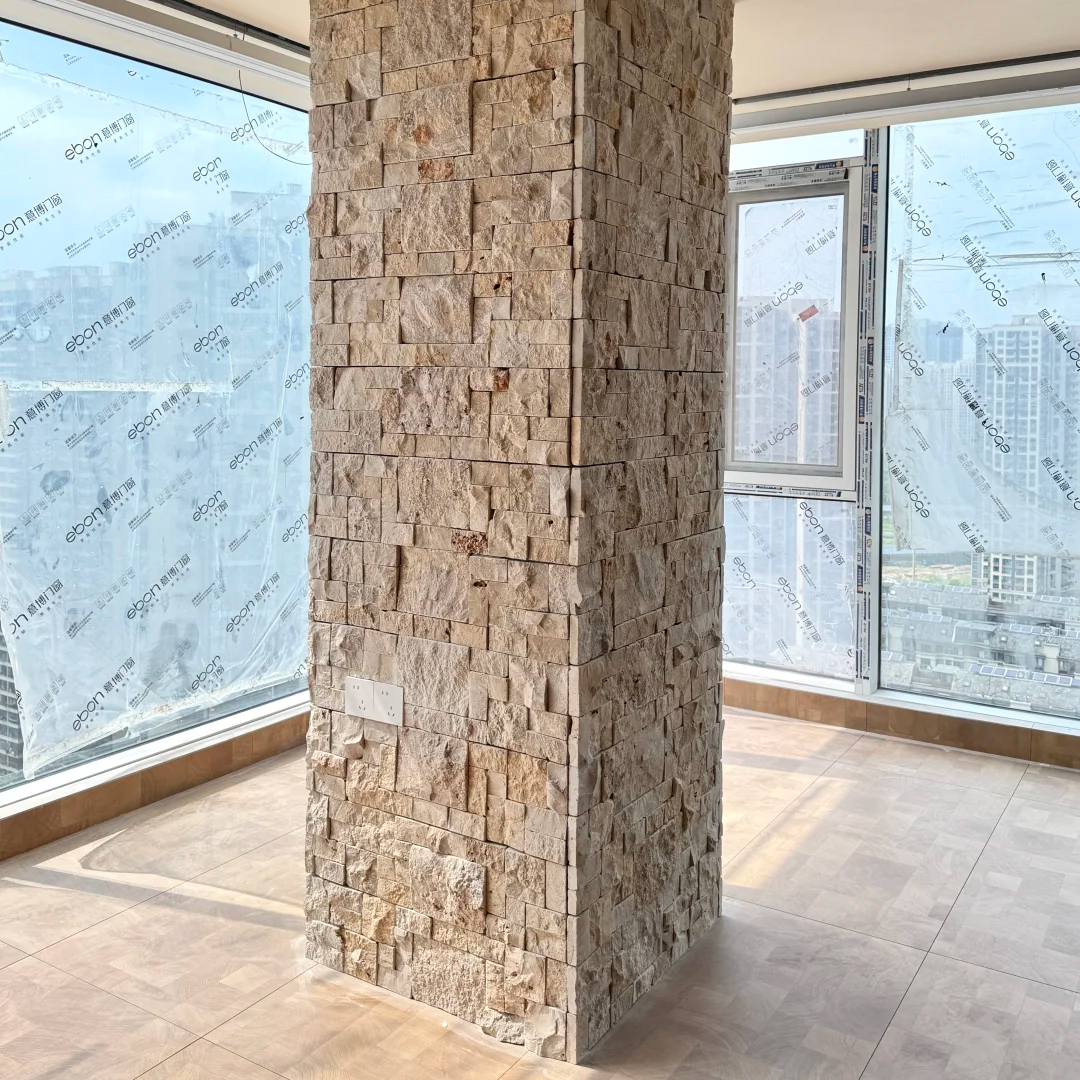
PU Stone Panels are a lightweight, decorative wall cladding material designed for easy installation and natural stone appearance. One of their biggest advantages is that they are suitable for DIY installation, reducing both labor cost and construction time.
This guide walks you through the complete installation process—from surface preparation to final finishing—ensuring a clean, professional result.
- Surface Preparation: The Foundation of Quality Installation
Proper substrate preparation is essential for long-lasting adhesion and a stable wall finish.
Before installation, make sure to:
Clean the wall surface thoroughly (remove dust, oil, and loose particles)
Ensure the wall is dry and structurally stable
Repair cracks or uneven areas if needed
Confirm the surface is flat for better panel alignment
A well-prepared surface directly improves bonding strength and final appearance.
- Layout Planning Before Installation
Before fixing the panels, it is important to plan the layout to ensure a balanced and natural look.
Key steps:
Measure the installation area accurately
Mark reference lines for alignment
Arrange panels in advance to check color and texture variation
Plan starting points from the bottom or center depending on design
Proper planning helps achieve a more natural stone effect.
- Panel Cutting and Adjustment
PU stone panels are easy to cut, allowing flexible installation on different wall shapes.
You can use:
Utility knife for thin sections
Hand saw or electric saw for thicker panels
Fine adjustments for corners and edges
Always measure carefully before cutting to reduce waste and improve precision.
- Adhesive Application and Fixing
PU stone panels are typically installed using construction adhesive, making the process simple and efficient.
Installation steps:
Apply adhesive evenly on the back of the panel or wall
Press the panel firmly onto the wall surface
Ensure alignment with reference lines
Use light pressure to secure bonding
Avoid leaving gaps between panels for a seamless stone effect.
- Nail Fixing and Nail Hole Treatment
For added stability in some applications, nails or screws may be used. These fixing points should be properly treated for a clean finish.
Finishing steps:
Fill nail holes with matching filler or sealant
Smooth the surface after drying
Touch up color if necessary to match stone texture
This ensures a realistic and seamless stone appearance.
- Final Inspection and Cleaning
After installation is complete:
Check overall alignment and bonding strength
Clean surface residue or adhesive marks
Inspect corners and joints for consistency
Make final adjustments if needed
A clean finish enhances the natural stone effect significantly.
Advantages of DIY PU Stone Installation
Lightweight and easy to handle
No heavy machinery required
Reduced labor cost
Fast installation process
Suitable for both interior and exterior walls
These advantages make PU stone an ideal choice for renovation and quick construction projects.
ECOUPP PU Stone Solutions
PU Stone Panels are part of the ECOUPP new material system, designed for modern, lightweight, and efficient architectural wall solutions.
Explore more: ECOUPP Official Website
PU Stone DIY installation is simple, fast, and highly efficient. With proper surface preparation and correct installation techniques, you can achieve a professional natural stone look without the complexity and cost of traditional stone cladding.