WPC wall panels are widely used in residential, commercial, and project applications thanks to their water resistance, durability, fast installation, and low maintenance. To achieve a stable and long-lasting wall finish, proper installation is essential. Below is a practical and easy-to-follow WPC wall panel installation guide.
1. Preparation Before Installation
Before starting installation, make sure the following conditions are met:
- The wall surface is flat, solid, and dry
- If the wall is uneven, prepare a batten or framing system
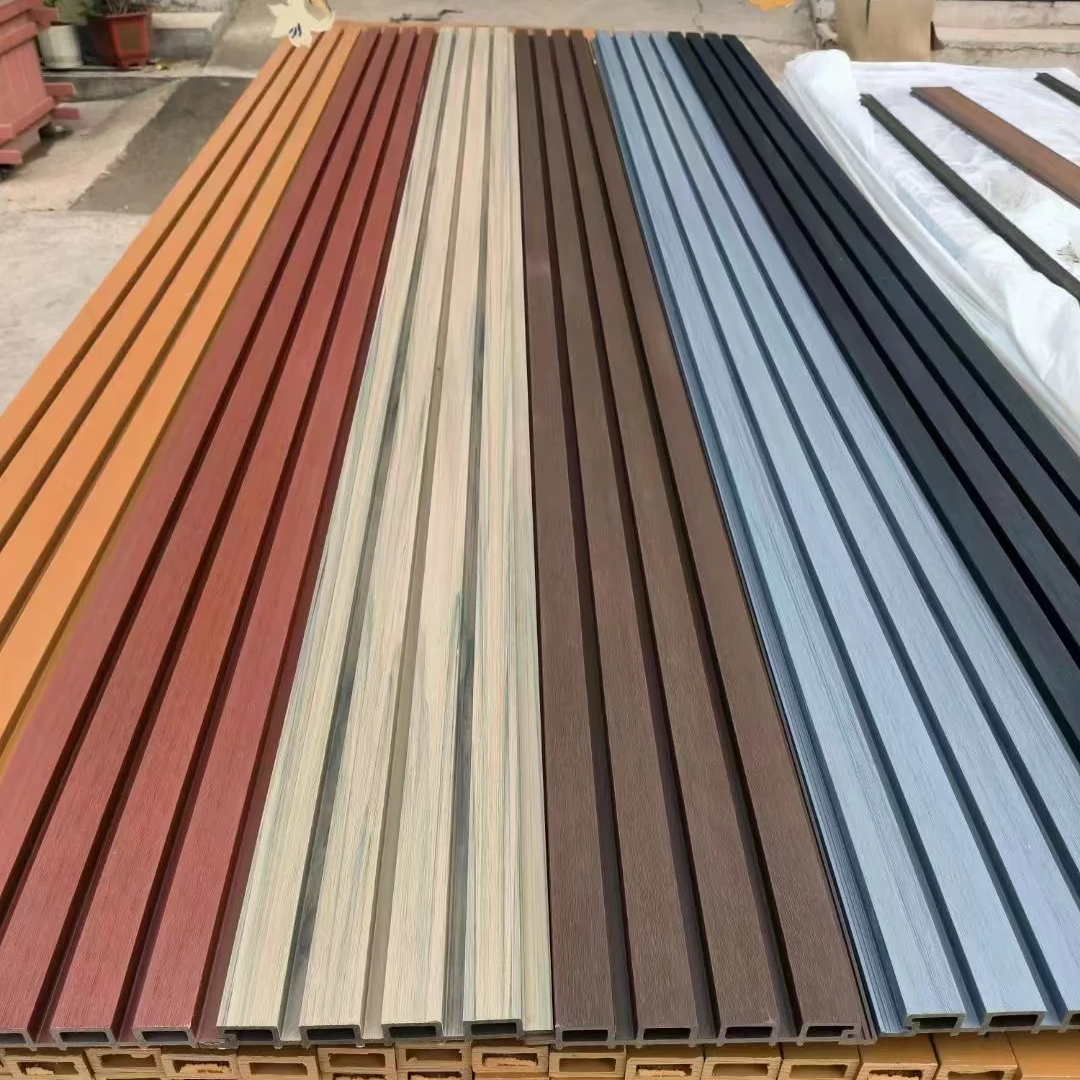
- Check that all materials are ready: WPC panels, clips, battens, and trims
- Plan the positions of sockets, switches, and lighting in advance
Good preparation helps prevent rework and installation issues later.
2. Do You Need Battens or Framing?
In most cases, a batten or framing system is recommended, especially when:
- The wall surface is uneven
- Large wall areas or commercial projects are involved
- Panels are installed outdoors or in semi-outdoor spaces
Metal or treated wood battens are commonly used.
Recommended batten spacing: 300–400 mm, ensuring proper panel support and stability.
3. WPC Wall Panel Installation Steps
Step 1: Install the battens
Fix the battens vertically or horizontally according to the panel direction. Ensure they are level and securely anchored.
Step 2: Install the starting trim
Fix the edge or starter trim at the wall corner or starting position to ensure accurate alignment.
Step 3: Fix the first panel
Insert the first WPC panel into the trim and secure it to the battens using clips or screws. Make sure it is level.
Step 4: Install the remaining panels
Connect each new panel to the previous one using the locking system. Continue panel by panel, keeping consistent spacing.
Step 5: Finish edges and corners
Use edge trims, corner profiles, or end caps to achieve a clean and professional finish.
4. Important Installation Tips
- Leave expansion gaps to allow for thermal movement
- Avoid strong impact or force on the panel surface
- Ensure good ventilation for outdoor installations
- Reinforce fixing at corners and joint areas
Attention to these details significantly improves durability and appearance.
5. After Installation & Maintenance
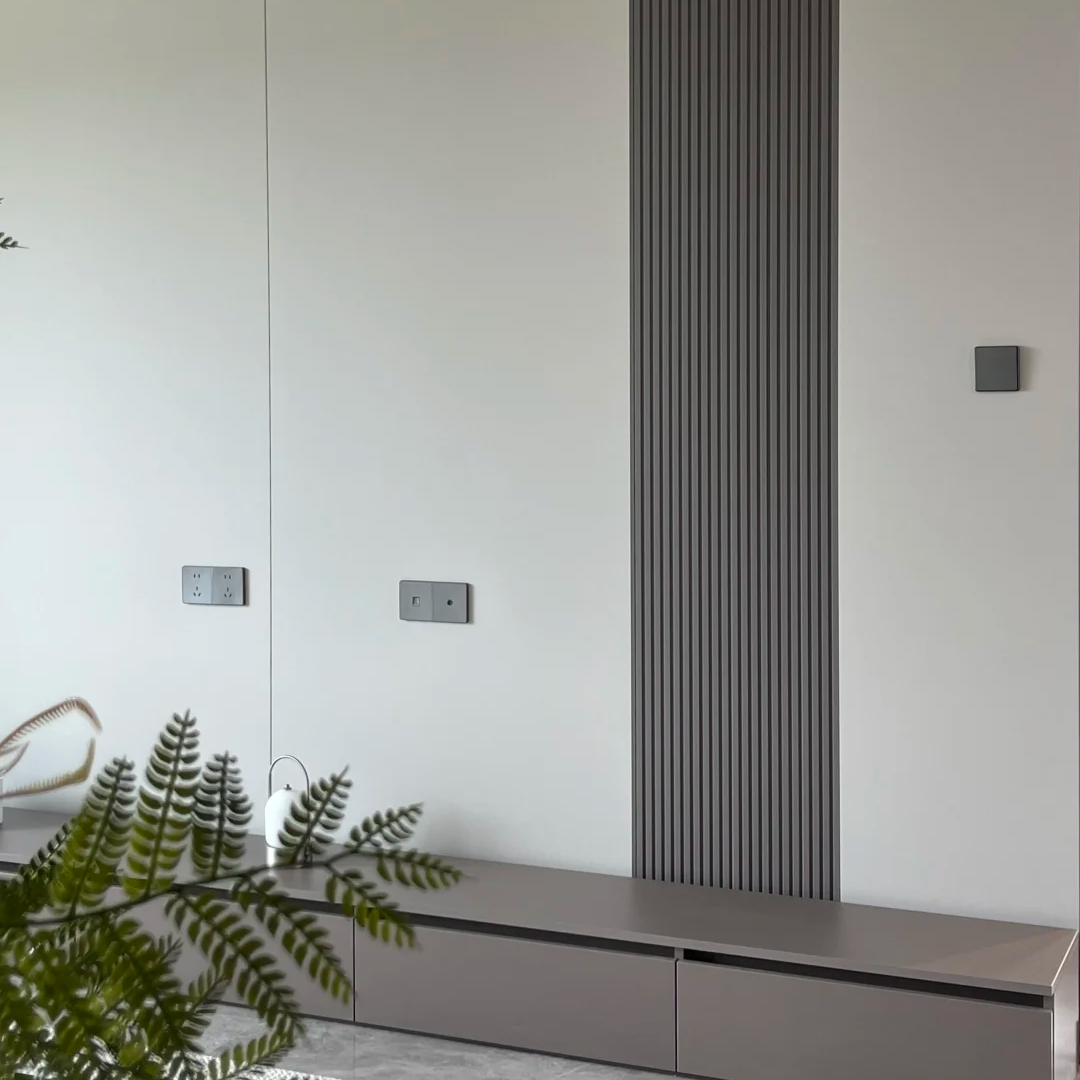
Once installed, WPC wall panels offer a clean and seamless appearance:
- Easy to clean with water or a damp cloth
- No painting or special maintenance required
- Resistant to cracking, moisture, and mold
By following a proper WPC wall panel installation guide and standard installation process, you can fully maximize the performance and lifespan of WPC wall panels.
Whether for residential use or commercial projects, correct installation is the key to a stable, durable, and visually appealing result.